The first bench I built came out crooked. I rushed the cut on the legs, didn't check for square before screwing everything together, and when it came time to sand, the whole bench swayed like a swing. I took it apart, started over, and this time I wrote down every step. Here's the full process, with the measurements I used and the mistakes worth not repeating.
Why 2x4 pine is more than enough
For a workbench for home use, you don't need oak or imported hardwood. 2x4 pine is available at any lumber yard, cuts easily with a hand saw without a fight, and, properly screwed and glued, holds up for years of sanding and blows. What matters isn't the species but the squareness and the bracing.
Pick the straightest boards you can find. Run your hand along the edge: if the piece bows visibly, it will warp the bench. Also check that there are no large knots right where you're going to drill, because there the bit wanders and the dowel won't go in straight.
Materials list and measurements
I used four 80 cm legs, two long crosspieces of 1.20 m, two short crosspieces of 55 cm, and five 1.20 m boards for the top. The diagonal braces came from two 60 cm offcuts cut at an angle. All in 2x4 pine, plus a 1x6 board for the lower shelf.
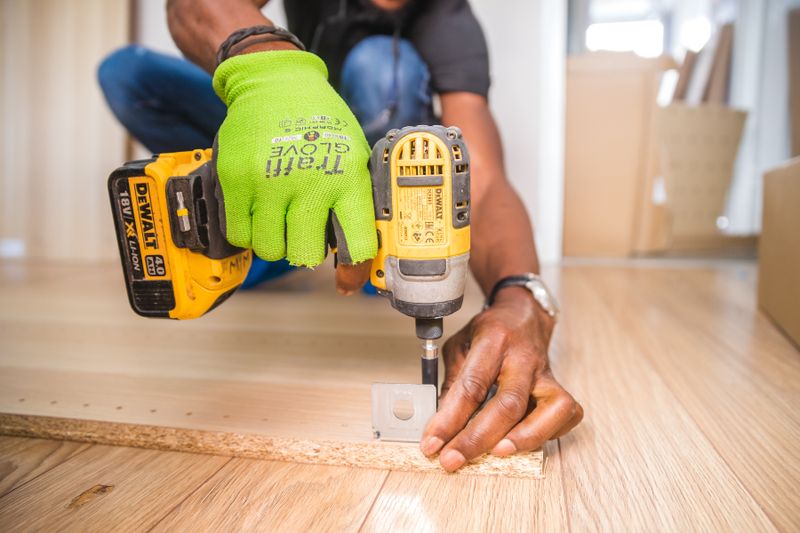
I added 8 mm dowels, wood glue, 6 x 60 mm screws, and medium-grit sandpaper. Clamps and bar clamps are not optional: without them the glue joint opens before it dries. If you're just starting out, a hand saw, a square, and a drill are the minimum; the miter saw and belt sander can be postponed without ruining the result.
Marking and cutting: the step you don't rush
Mark each leg with a square from a reference face, not from whatever edge you happen to pick. If you use different faces for each piece, the lengths come out different even if the number is the same. Cut with a hand saw leaving the pencil line visible and then sand up to the line.
This is where I went wrong the first time: I measured without taking the thickness of the strip into account and one piece came out short. I had to redo it. The simple rule is to always measure from the same face and subtract the thickness of the piece that goes on top.
Assembly: glue and screw at the same time
Dry-fit the frame before gluing. If the joints don't close without force, don't force them with screws: fix the cut. Once everything fits, glue and screw in the same motion. Glue alone loosens with vibration and a screw alone loosens over time; together they hold.
Check the square with the diagonal: if the two diagonals of the rectangle measure the same, the frame is plumb. Only then adjust the clamps and let it dry. Don't move the piece until the glue sets, because any twist now stays crooked forever.
Diagonal braces against wobbling
A bench with straight legs and no diagonals moves when you sand it even if it's perfectly squared. The diagonal braces between the legs and the crossbars are what give it the rigidity you're after. Cut them at an angle, glue them and screw them from the inside so they don't get in the way while you work.
If the bench still moves, check the screws on the lower shelf: many times the problem is not in the legs but in a loose joint that works with the vibration.
What stayed and what comes next
The finished bench does not move when sanding or hitting it with the rubber mallet. There was wood left over for a small shelf and there are dowels left for the next project. If you are interested in continuing with basic electricity, in installing a new outlet without burning anything I left the procedure I use to work with wires without any scares. And if you want to see the rest of the notebook, in the blog are the other workshop entries.