Installing a new outlet without burning anything
Turn off the breaker, identify the wires, and test before closing the box
Household electricity commands respect, and rightly so. Here is the procedure I use to add an outlet to a masonry wall, with the precautions I learned the hard way and the doubts that still come up every time I open a box.
Before touching any wire
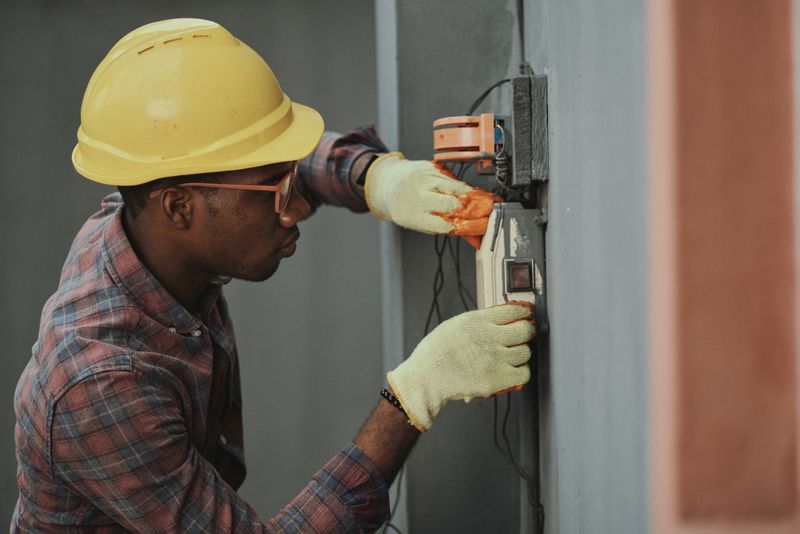
I turn off the circuit breaker and leave it marked so no one flips it back on while I work. Then I check with a voltage tester that there is no current at the terminals, even if I am almost certain the power is already off. I skipped that step once and got an unnecessary scare: the breaker was fine, but the outlet was still being fed from another branch. Since then I do not trust my memory or the panel label.
If the box goes into a masonry wall, I first mark the rectangle using the outlet plate as a guide and carefully check that no water pipes or other electrical lines run behind it. One strike of the chisel in the wrong spot ruins the afternoon.
Phase, neutral, and ground: how to identify them
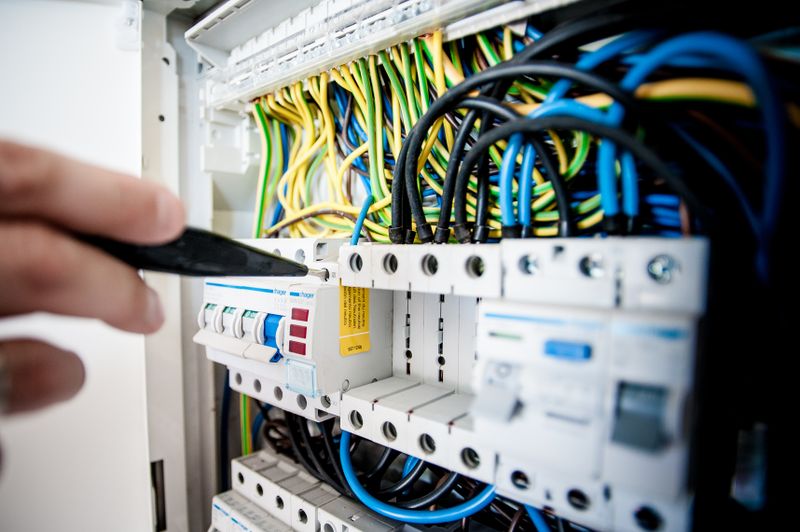
When I open the old box, I find colored wires that don't always follow the code. The first thing is to look: in more or less orderly installations, brown or black is usually the phase, light blue is the neutral, and green with yellow is the ground. But I don't trust the color alone. With the multimeter I measure between each wire and ground: the one that shows voltage is the phase, the one that shows nothing is the neutral.
Before disconnecting anything, I take a photo with my phone. The first time I didn't, and afterward I spent half an hour trying to remember which wire went to each terminal. It's a silly detail that saves a lot of time.
Stripping the wire and making the connections
I strip the wire with the specific pliers, without damaging the copper. If the wire stripper leaves marks or cuts strands, I change tools: damaged copper heats up and loosens over time. To join the conductors I use terminal blocks instead of twisting and taping. Terminal blocks stay firmer, are easy to check, and don't depend on the tape holding up over the years.
I choose the wire gauge according to what I am going to plug in. For a general-purpose outlet at home, a wire with a cross-section suitable for the existing circuit is enough, but if I am going to add a higher-consumption appliance, it is worth checking first whether the breaker and the wiring can handle it. If the existing box is too small, the cleanest option is to enlarge it with a deeper box instead of forcing the wires inside.
The test before closing up
With everything connected but still without the cover plate, I switch on the breaker and measure the voltage at the terminals of the new outlet with the multimeter. If the value is the expected one and there is no smell of burning or overheating, only then do I attach the faceplate. After that I plug in something simple, a lamp for example, and leave it for a while while I check that it does not get hot.
In my case, the final inspection of the panel was done by a licensed electrician. It is not that the work turned out badly, but when it comes to the general installation of the house I prefer someone with trade experience to look at it. It is a personal decision, not a rule: each person will know how far they dare to go.
Materials I use
New outlet, insulated screwdriver, voltage tester, multimeter, wire stripping pliers, terminal blocks, electrical tape, and a wall box if the existing one is no good. Nothing unusual, but have everything on hand before you start so you don't have to stop the job halfway through.
If you're interested in continuing with other projects from the notebook, you can check out how to build a sturdy workbench out of pine wood or browse the full blog archive.